


Roadbed
My preferred material for roadbed, the part of the layout to which track is attached, is cork. I eventually also used foam roadbed in places where cork wasn’t suitable. Construction of the roadbed has been ongoing as track was added, but a large portion of it was laid down immediately after the first layer of foam was glued in place, in December 2009.
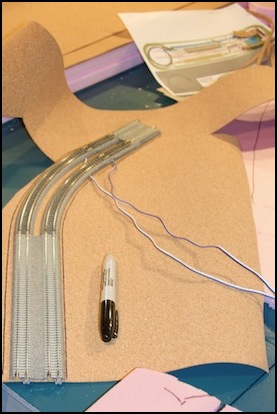
Material: Cork
You can buy pre-made roadbed in cork, but I prefer to by it by the sheet and cut to size. While commercial roadbed is sometimes thicker, I’ve found 1/8” (3.2mm) to be a good size. I bought mine in the form of rolled 2’ x 4’ sheets made for bulletin boards, which cost about $15 from a local office-supply store (much cheaper than commercial 1/8-inch cork roadbed strips). The only problem with this was the curl, so I laid several of these atop one of the spare tables I’d made for the storage tracks, put a bunch of boxes and other things atop that, and let it sit for a couple of months while I worked on other things. It still curled somewhat at the end of that, but not enough to be a problem.
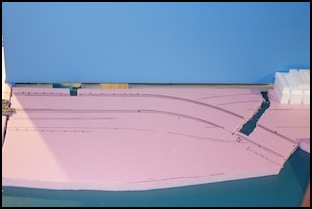
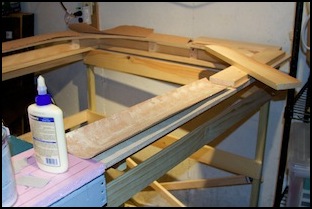
Marking cork in preparation for cutting
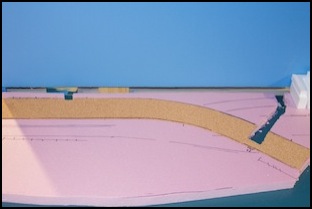
Fitting Cork
With the foam in place and the planned location of the track on it, the cork was marked (as shown above) and cut to fit, then any necessary openings in it were made to accomodate track feeders (in some case the core was glued down, and only after the glue dried was the section were the feeder would go cut away with an Xacto knife.
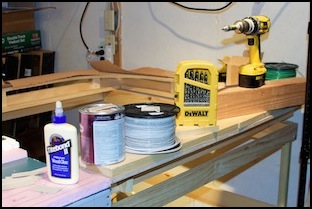
Gluing Cork
With the cork cut, the next step was to glue it in place. As with the foam, I spread the glue (yellow carpenter’s glue, again), then smoothed it out using a small strip of cardboard cut from a cereal box as a squeegee. It’s important to spread it evenly, and thin, since cork is porous and too much in one spot will actually bubble up through the cork, particularly when it’s this thin. Since I’m using boards atop the cork to flatten it down while it dries, this could glue them to the top of the cork (yes, I know this from experience).
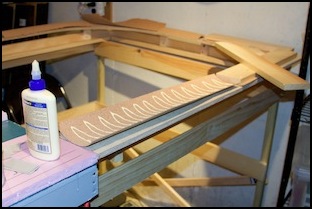
Cork with glue
The picture on the left below shows the cork with a couple of boards and lots of weight put atop it overnight to clamp it while the glue sets. Finally, the last picture shows the glued cork, with unitrack laid atop it (still not in final form).
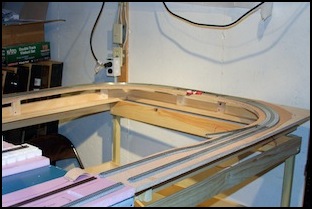
Weighted cork drying (L) and finished with track set atop it (R)
Material: Foam
While the initial roadbed work was done with cork, later on there were a few places where I used Woodland Scenics “Track-bed” foam roadbed. The N-scale version of this is 1/8” thick, and I bought it in sheets. Although the individual sheets are smaller than the cork (1’ x 2’), the actual cost per square foot was very similar to the rolled sheets of cork I had used.
There are two reasons I used foam: first it worked well within the Urban Station, as it could be cut to fit and laid inside the viaduct station without gluing it down, using only the weight of the station platforms and track to hold it in place. Second, in places where I needed to put roadbed above either sheet styrene or plaster it was easier to fit in place.
My approach to using it was similar to the cork, where I cut it to fit, and then (if needed) glued it in place. The only difference was that I used Liquid Nails (the standard formula, not the “for foam” formula) to attach it, as this provided a good bond between the non-porous foam and both styrene and plaster.
In the Urban Station the foam isn’t glued, but merely held in place by the weight of the track and platforms. This makes it easier to take the station apart to work on it, but has caused some problems with the foam shifting over time. I may eventually glue it in place when I finish all of the scenery work.
My use of foam roadbed, including painting it, is covered in more detail on the Roadbed and Ballast page of the Model Trains section.
