Compact Unitrack

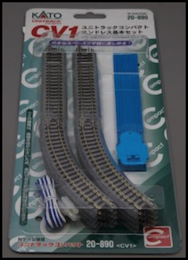
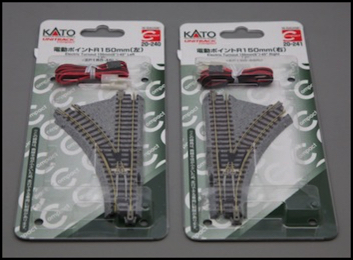
I was going to post something “soon”, and soon came sooner than expected. I went to a model train show today, and having Kato’s new compact track on the brain after working on my Unitrack pages last night, couldn’t resist picking some up. I bought a CV1 “Compact Oval” set, along with two R150 switches and a small pack of 150mm (6”) curves. This builds an oval with a short-cut inner curve that fits snugly on one end of my coffee table, with plenty of room for the Kato power pack.

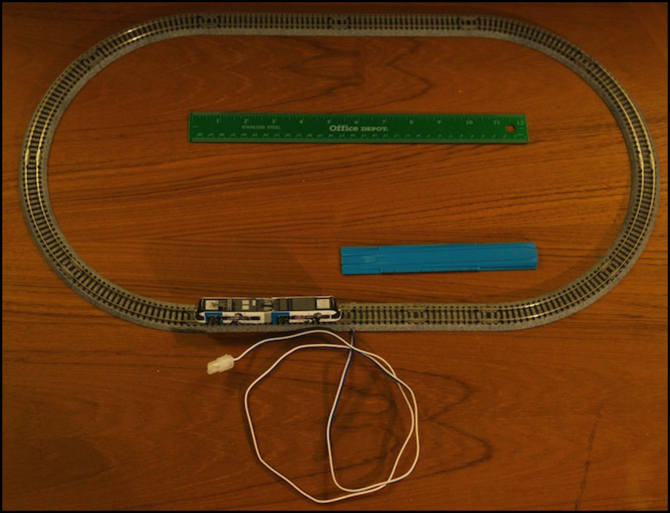
The CV1 loop, with a Portram and a 12” (30 cm) ruler for scale, before adding switches
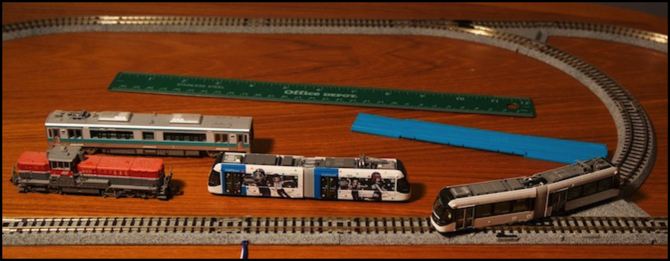
Of course this track isn’t really designed for anything particularly large, being meant for Kato’s Unitram light rail vehicles, but I thought I’d try a few things out and see how they worked. In addition to my Kato White Centram (parked on switch above), I also tested a Tomix DE10 (red loco) freight locomotive and Tomytec Portram (blue and white model), as well as a Greenmax Series 125 EMU (silver with stripe).


The DE10 and Series 125 both clearly were binding a bit on the curves, but both could make it around successfully. I don’t think I’d want to build a layout for either that depended on 150mm curves though. The Centram and Portram had an easier time of it, although I think the Tomytec Portram was binding slightly on the curves. I’d probably be willing to use either with this track on a layout, although it is perhaps a bit sharper than I’d like.
Interestingly while all of these could go through the switches when set to straight, and could go through one of the two switches (the front one) when set to “curve”, every single one derailed when taking the diverging route on the other switch. The culprit on examination was a very tiny misalignment of the moving part of the curved point rail with the non-moving part. The point rail is thinner than normal rail, and it was offset so that when a wheel reached the junction between the moving a non-moving parts, it hit the end of the fixed rail, and tended to ride up. I suspect this could be fixed with a very slight bending of the thin rail, but I haven’t tried that yet.
Another interesting feature is that the springs on the point rails are soft enough that the switches work as “spring switches”, meaning you can run “wrong way” through them. That’s a common behavior on prototype light rail switches. I wouldn’t assume it would always work reliably, particularly with lightweight freight cars, but I certainly had no problems when using them that way with trams or locos.
Electrically these switches are functionally identical to Kato’s #4 switch, including the screws on the back to set “power routing” or “non-routing” modes of operation. One difference: they got the labels right here, so functionally it’s exactly reversed from the #4 diagrams on my Unitrack Switches page: set to the default “power routing” mode, the inner rail of the non-selected route is not powered. If you want to use it as a Spring Switch, you may need to change to the “non-routing” mode (meaning both routes are always powered).
The position of the screws does not affect the point rails: they’re always the same polarity as the adjacent rail, whether touching or not.
The Unitrack itself is, aside from the sharp radius, ordinary wooden-tie Unitrack, identical in all regards to the other track I have. The two R150 switches are a much sharper curve, but as noted otherwise work like the #4 Kato switches, being set up to be “power routing” by default. The switches are a full 45-degrees as well, so only two more sections of curved track were needed for the inner siding seen above.
In sum, while the switches turned out to be a bit fiddly, I think you could make a good light rail layout using Kato’s Compact Unitrack.


