Apartment Building Complete
22 June 2012 23:16 Filed in: Model,Structures
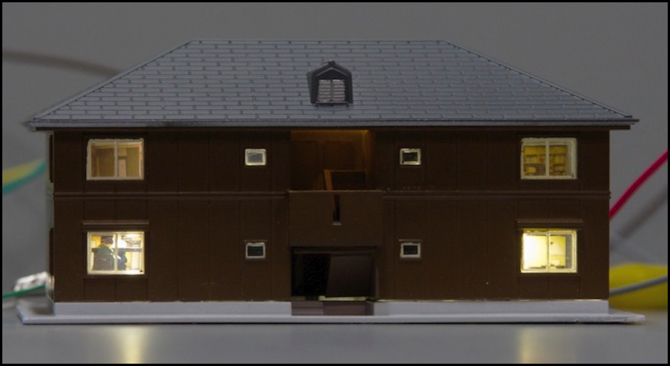
It’s taken quite a bit longer than I expected when I started, but the first Kato Apartment Building is done. This really wasn’t as hard as it sometimes seemed. I probably spent the most time trying to decide what photos would go on the inside. I had the building painted and the interior wall units assembled in late March, then I got distracted by other things. Finally, after doing up most of the Bike Shop work, I decided it was time to start putting the Apartment Buildings together. The other one is less complete, and will likely be procrastinated over for a few more weeks while I work on other things, but getting this one done felt like quite the accomplishment.
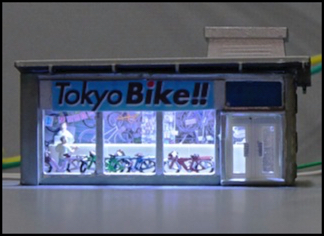
But before I forget, here’s a photo of the finished Bike Shop. I gave up on adding windows, at least for now, and just installed the two figures and the bikes (the figures are from some inexpensive bulk pack, but the bicycles came from a Woodland Scenics set and are quite nice. They’ll even stand on their own using one pedal as a support, although I’ve glued them in place with Scenic Cement.
Now for the apartment building. First, larger versions of all of these photos, and others, have been added to the Village Photos album page.
What was left to do here was detail the interiors, gluing suitable photos, made in the usual way, to the walls and floors. You can see the finished walls on the Detailing Buildings page.
To light the building I used four LED Strips, two for each floor. The ones illuminating the upper floor were mounted inside the roof with holes cut to let the light in as previously described. For the lower floor, I had to mount these directly on the support forming the ceiling, which made the lighting rather bright in some of the rooms. I may try to do the second building a bit differently as a result.
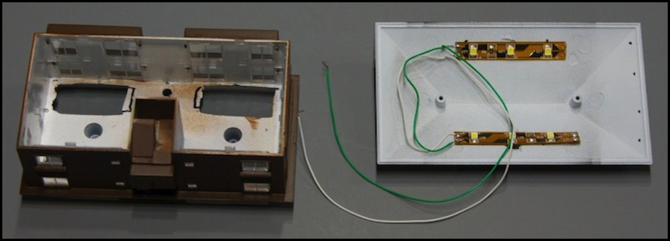
Roof with Lighting Strips
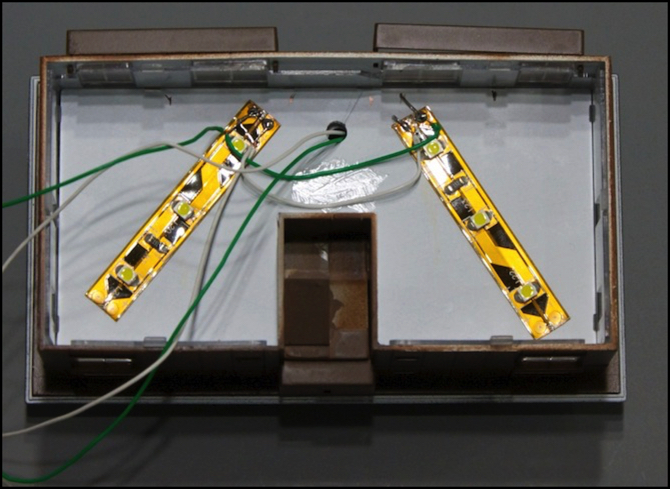
Bottom of Upper Floor with Lighting Strips
As you can see at the top of the page, the result was quite good, if a bit bright on the lower floor.
In addition to the photos, I tried my hand at adding figures. This was a bit tricky, because inserting the floor assemblies in is quite difficult, and requires a bit of bending and pushing. I decided to only do this on the lower floor, and only did one room (although I did put a table on the upper floor, just to see if it would survive installation; it did).
Here’s the ground floor unit with the two figures sitting at a dining table (the table and chairs are just strips of styrene glued together and painted brown).

Couple at table
And here’s how it looks through the window. The bright light somewhat spoils the effect, but otherwise it looked just as I wanted.
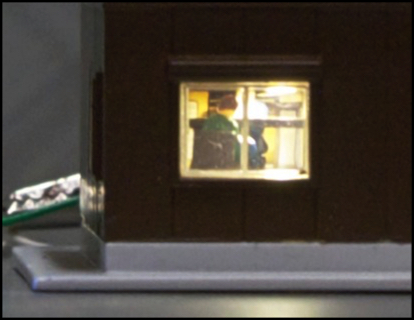
A quiet domestic scene, viewed through a window
However, the really neat part was putting my three lit buildings next to each other and comparing them.

Three Lit Buildings
On the left is the Electrical Substation. This is lit by a pair of fairly bright conventional yellow LEDs. You can only just make out the yellow glow in the windows in this photo, although it’s a little more apparent in person. In the center is the Bike Shop, lit with a single LED Strip (three surface-mount LEDs). This used “bright white” LEDs, and gives a very blue-white light I think of as “fluorescent”. Finally, on the right is the Apartment Building with its four “warm white” LED strips (twelve surface-mount LEDs total). These turned out even more “yellow” than I expected, and provide a very good “incandescent lamp” look.
I’m really happy with how these all turned out, and this really feels like progress, even though I have perhaps a half-dozen more buildings to do, just for the River Crossing scene. It’s a long way from done, but I’m really enjoying the journey.


